DIY Paving: A Step-by-Step Guide (or Why You Should Hire a Professional)
Paving your driveway, walkway, or patio can seem like a rewarding DIY project. After all, it combines physical labor with creativity and offers a tangible, lasting result. However, paving is not as simple as it looks. From preparing the ground to selecting materials and ensuring proper drainage, the process can quickly become overwhelming. In this guide, we'll explore the steps involved in a DIY paving project and highlight why hiring a professional like Eagle Paving and Construction in Beaverton, OR, might be your best bet.
Planning Your DIY Paving Project
Assessing Your Space
Before diving into your paving project, the first step is to thoroughly assess the space you plan to pave. Take measurements, observe the terrain, and consider factors like drainage, the natural slope of the ground, and proximity to other structures. The size and shape of the area will determine the amount of materials needed and the complexity of the project.
Choosing the Right Materials
The next step involves picking the right materials. Pavers can be made from concrete, brick, or natural stone. Each material has its pros and cons. For example, concrete pavers are durable and versatile, but they can be challenging to install correctly. Natural stone offers a unique, aesthetically pleasing finish but can be expensive and difficult to work with.
Drawing Up a Design
Design is a crucial part of the planning phase. Whether you're creating a simple path or a more complex patio, sketching out your design on paper or using software can help visualize the final result. Consider the patterns you'd like to create, the layout of the pavers, and any additional features like borders or edging.
Preparing the Ground for Paving
Clearing the Area
Once your plan is in place, it's time to prepare the ground. Begin by removing any grass, weeds, or other unwanted materials from the area. This is a time-consuming task that requires careful attention. A clean, even surface is essential for laying pavers correctly.
Excavating the Soil
Excavation is one of the most critical steps in paving. Depending on the type of paver and the intended use of the paved area, you'll need to dig down several inches to accommodate the base layers. For example, driveways typically require more excavation depth compared to a garden path. Using the right tools, such as a shovel or mechanical excavator, is crucial to ensure an even excavation.
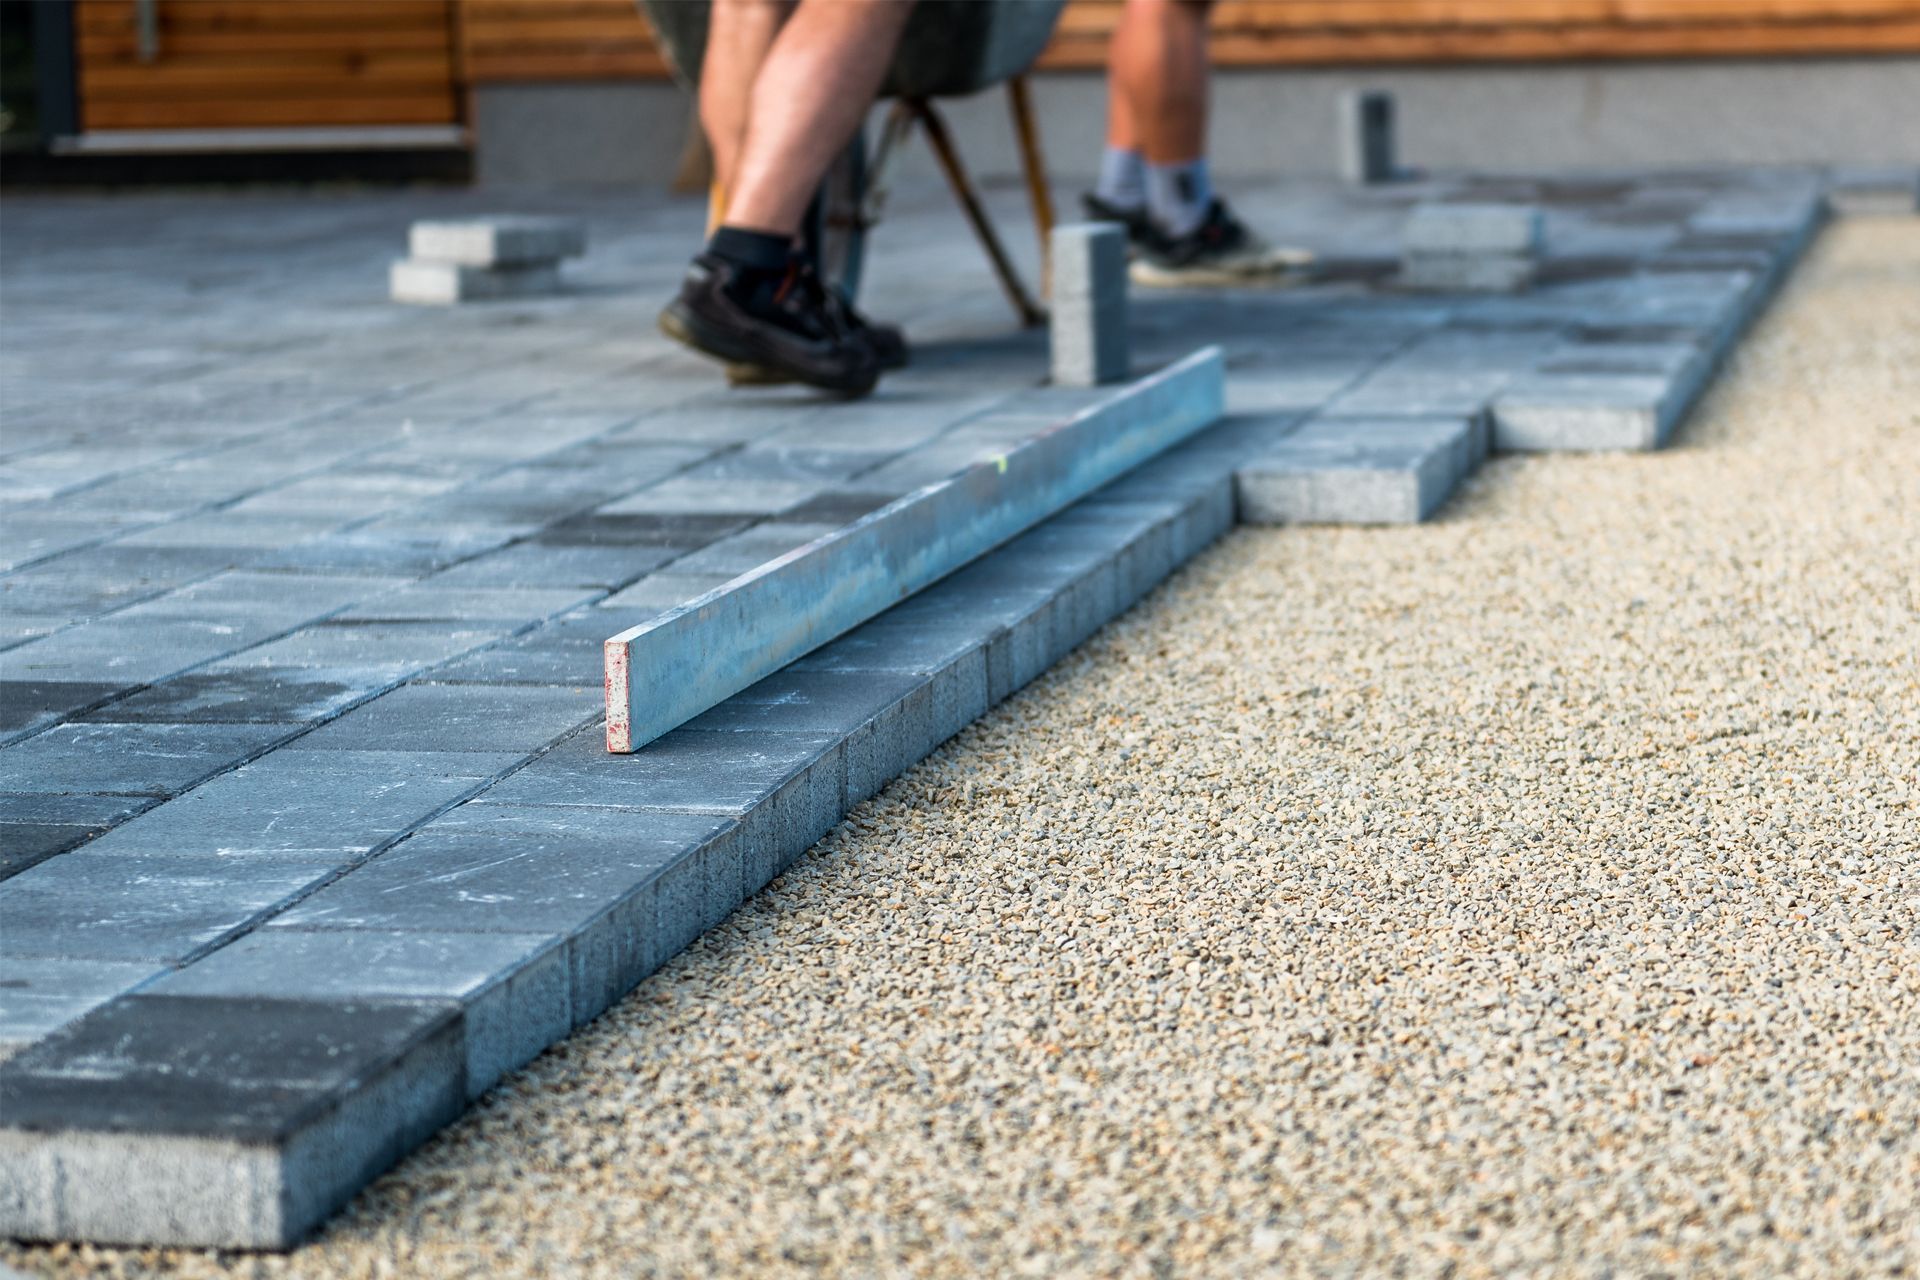
Creating a Stable Base
The stability of your paved surface depends largely on the base you create. After excavation, lay down a layer of crushed stone or gravel and compact it thoroughly. This layer should be evenly spread and firmly packed to provide a solid foundation for the pavers. Some projects may require an additional layer of sand to further level the surface and improve drainage.
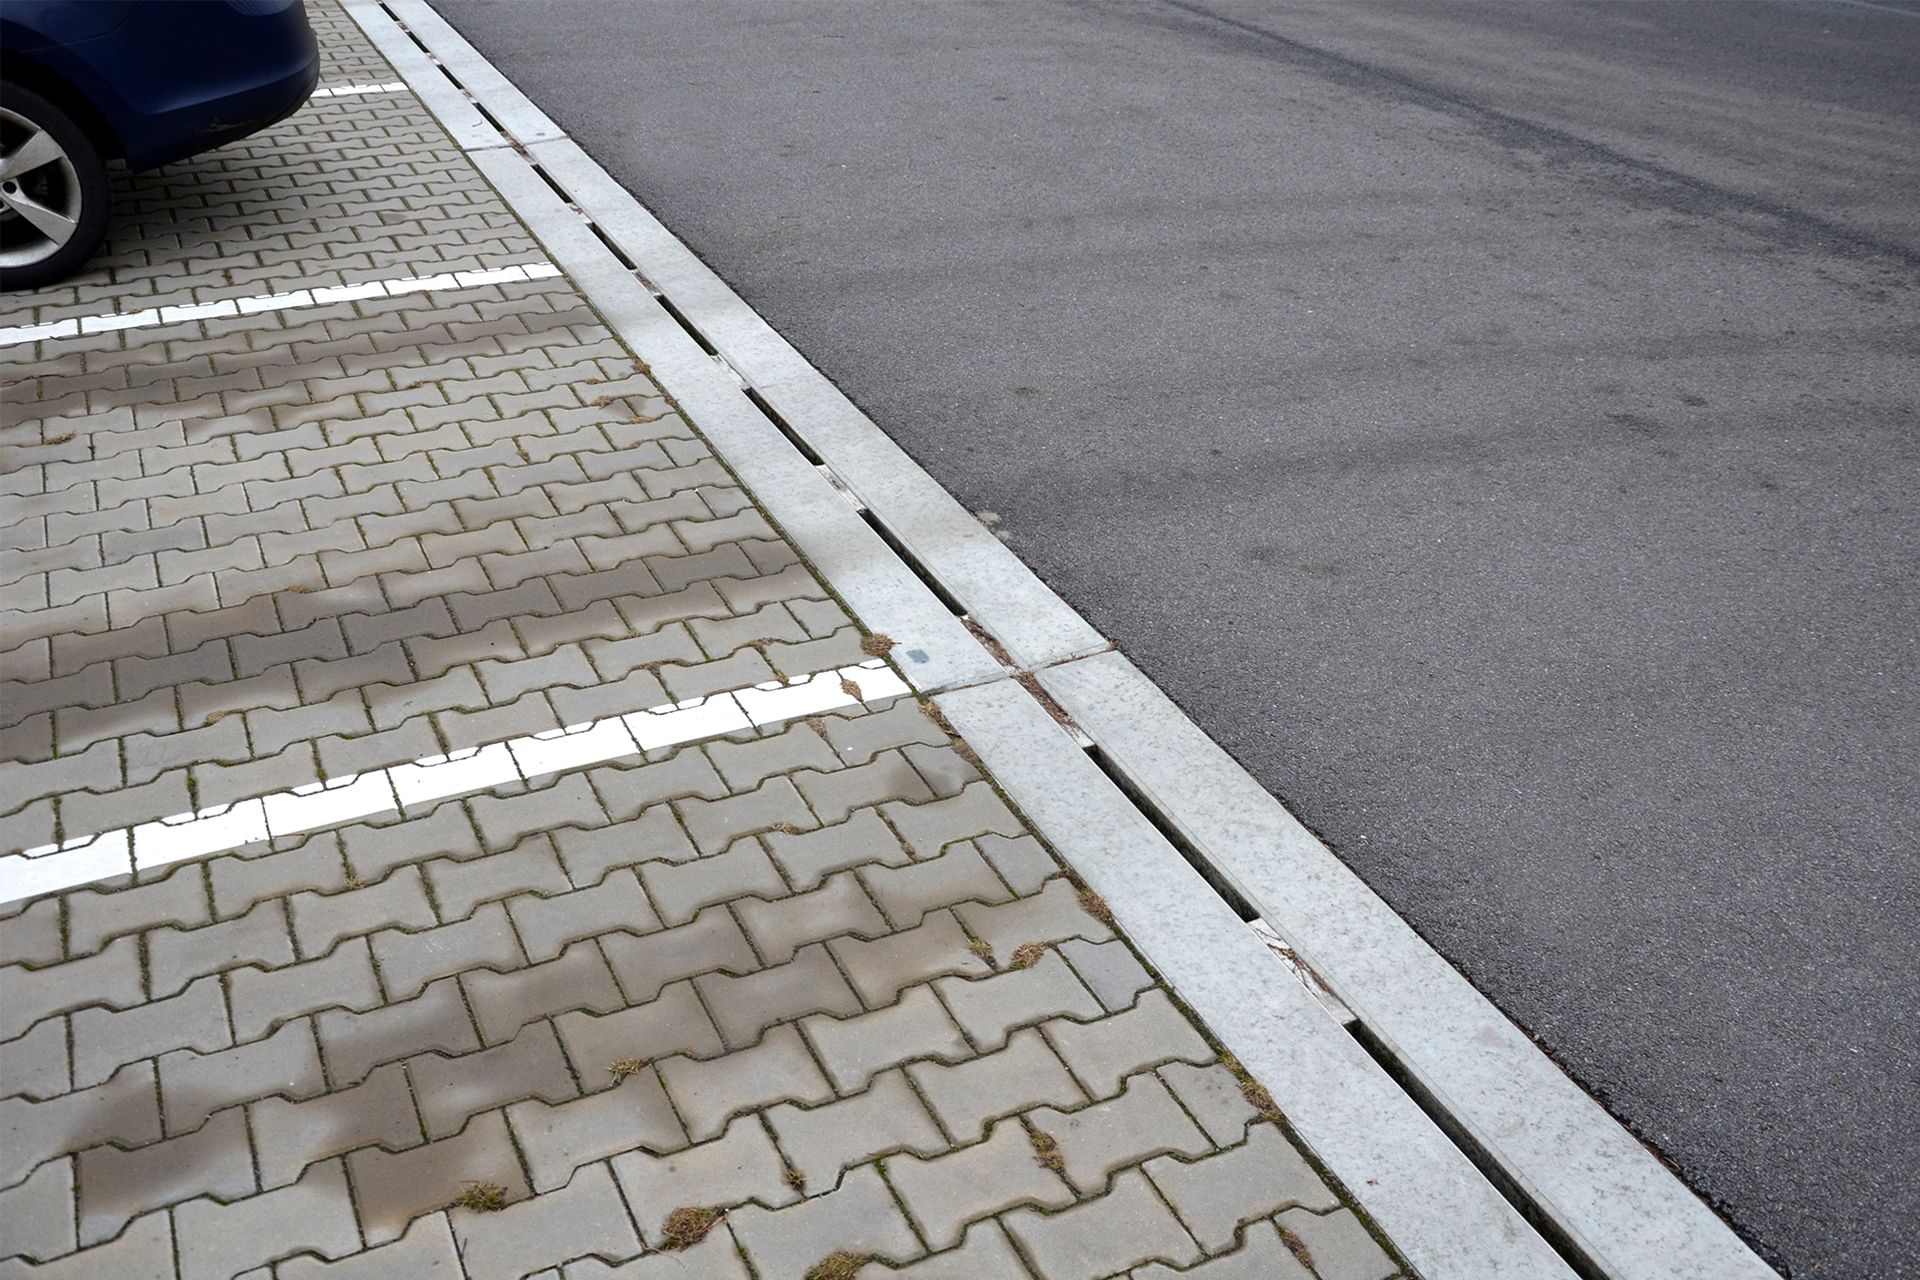
Laying the Pavers
Starting with the Edge
Begin laying your pavers from the edge of the project area. The edge pavers serve as a guide for the rest of the installation and help keep the entire layout in place. Depending on your design, you may need to cut some pavers to fit along the edges using a masonry saw or chisel.
Placing the Pavers
Carefully place the pavers onto the prepared base, following your design pattern. Maintain consistent spacing between the pavers using spacers or by eyeing the gaps. Precision is key here, as uneven gaps can result in an unbalanced and unattractive finish. As you place each paver, tap it lightly with a rubber mallet to ensure it sits firmly in place.
Cutting and Fitting
As you near the edges of your project, you may find that some pavers need to be cut to fit the space. Accurate measuring and cutting are crucial to maintain the integrity of your design. This process requires specialized tools and can be time-consuming, so be prepared for the challenge.
Final Touches: Filling Joints and Compacting
Filling the Joints
Once all the pavers are in place, it's time to fill the joints between them. Use fine sand to fill these gaps, sweeping it into the joints and ensuring that it's evenly distributed. The sand helps lock the pavers in place and prevents them from shifting over time.
Compacting the Surface
After filling the joints, it's essential to compact the entire surface to ensure the pavers are set firmly in place. This step requires a plate compactor, which applies even pressure across the surface, pushing the pavers into the base layer. Compacting also helps settle the sand into the joints, providing a smooth, stable surface.
Sealing the Pavers
While not always necessary, sealing your pavers can add an extra layer of protection against weather and wear. A sealant can enhance the color of the pavers and make them easier to clean. However, applying sealant requires precision and proper timing, as the pavers need to be completely dry before sealing.
Why Hiring a Professional is a Smart Choice
Expertise and Experience
Paving is a skill that requires experience and expertise. Professionals like Eagle Paving and Construction in Beaverton, OR, have years of experience in the field. They understand the complexities of the process, from site preparation to material selection and installation techniques. Their expertise ensures that the job is done correctly, efficiently, and with a high-quality finish.
Access to Specialized Tools and Equipment
Paving projects require specialized tools and equipment that most homeowners don't have on hand. From plate compactors to masonry saws, these tools are essential for a professional finish. Hiring a professional eliminates the need for costly tool rentals and ensures that the job is completed using the right equipment.
Time and Effort Savings
DIY paving projects can be time-consuming and physically demanding. What might take you several weekends to complete, a professional team can finish in a fraction of the time. Hiring professionals not only saves you time but also spares you the physical strain and potential frustration of a DIY project gone wrong.
Long-Term Durability
One of the most significant advantages of hiring a professional is the long-term durability of the finished product. Professionals ensure that the base is properly prepared, the pavers are correctly installed, and the joints are securely filled. This attention to detail results in a paved surface that stands the test of time, with minimal maintenance required.
Warranty and Peace of Mind
When you hire Eagle Paving and Construction, you also gain the peace of mind that comes with a warranty. If any issues arise after the installation, you're covered. This level of security is something that a DIY project simply can't offer.
Contact Eagle Paving and Construction Today!
If you're considering a paving project, why not leave it to the experts? At Eagle Paving and Construction in Beaverton, OR, we specialize in delivering high-quality paving services that stand the test of time. Whether you're looking to pave a driveway, parking lot, asphalt, or any other outdoor space, our experienced team is here to help. Call us today at (503) 519-7681 to discuss your project and get a free estimate. Let us take the stress out of paving, so you can enjoy a beautifully finished surface without the hassle!
Frequently Asked Questions
How long will a paving project take to complete?
The duration of a paving project depends on the size and complexity of the area being paved. A small patio might take a day or two, while a larger driveway could take a week or more. Professional teams typically complete the work faster than DIY efforts due to their experience and access to the right tools.
What is the best type of paver for a driveway?
Concrete pavers are often considered the best choice for driveways due to their durability and ability to withstand heavy loads. Brick and natural stone pavers can also be used, but they may require more maintenance over time.
How do I maintain my paved surface?
Regular maintenance includes sweeping to remove debris, applying sealant to protect against the elements, and re-sanding the joints as needed. If any pavers become loose or damaged, they should be repaired or replaced promptly to prevent further issues.
Can I pave over my existing driveway?
Paving over an existing driveway is possible in some cases, but it depends on the condition of the current surface. If the existing driveway is cracked or uneven, it's better to remove it and start fresh to ensure a stable and long-lasting result.
How do I know if my project requires professional help?
If your project involves complex designs, significant excavation, or large areas, it's advisable to hire a professional. Additionally, if you lack experience with paving or access to the necessary tools, professional help can save time, effort, and potential mistakes.